After I built the Torus Pedestal table I was still intrigued by the possibilities of creating joinery by milling chunks of aluminum. In designing a new dining table I chose to use a similar technique to create the joint where the leg meets the stretcher.
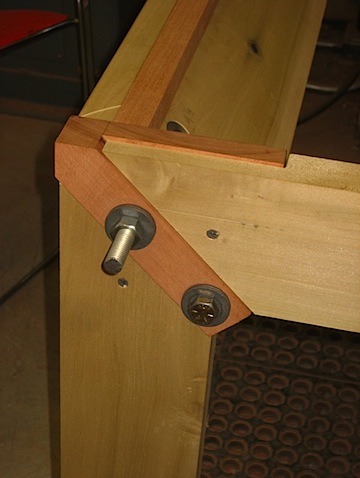
My first step was to mock up the bracket which I had drawn in my sketch book. The wood mock-up allows me to check proportions and really visualize the steps that are needed to create the bracket.
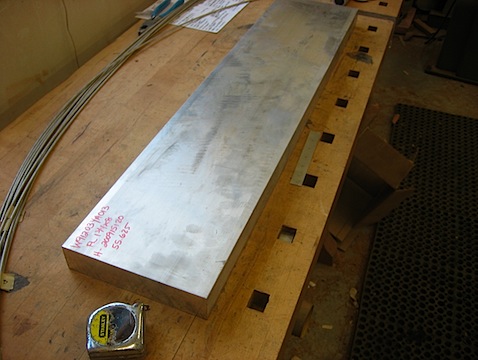
I start with a large piece of aluminum It is 1 3/4″ thick, 8″ wide and 36″ long.
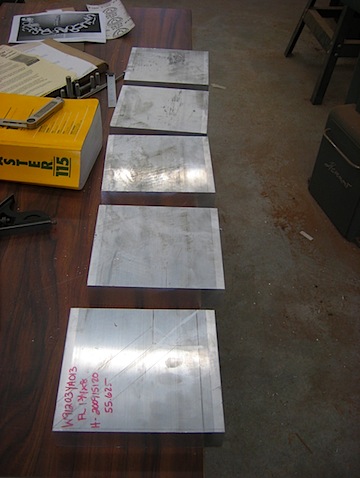
Step one is cutting this massive chunk into more manageable pieces.
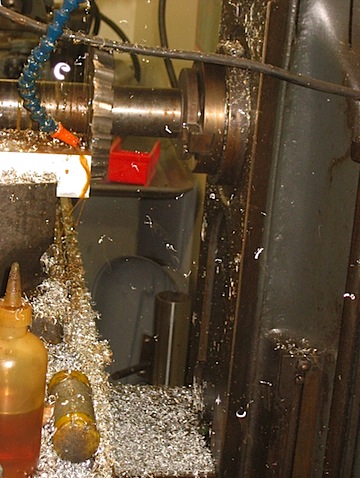
Then I am back at my horizontal mill precisely squaring the blocks. In this photo you can really see the coolant and chips flying everywhere!
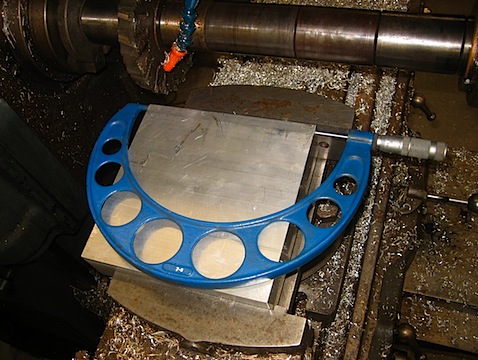
The blocks are measured with a large micrometer.
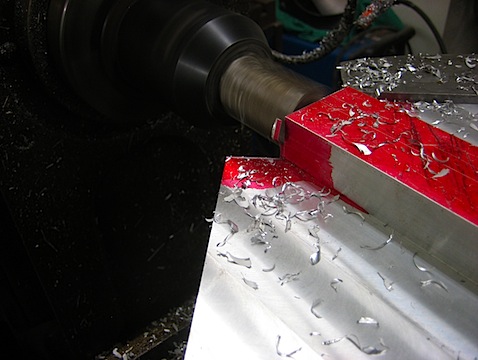
The Blocks have been squared up and now the vise is rotated and I change the cutters. The heavy cutting is about to begin.
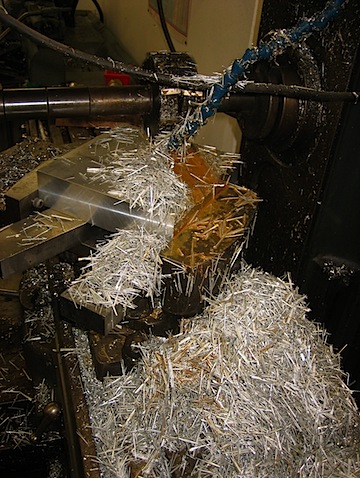
The chips build up quickly.
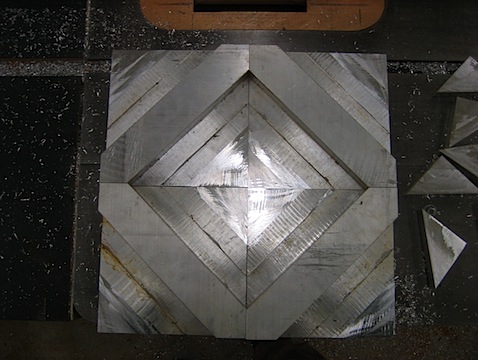
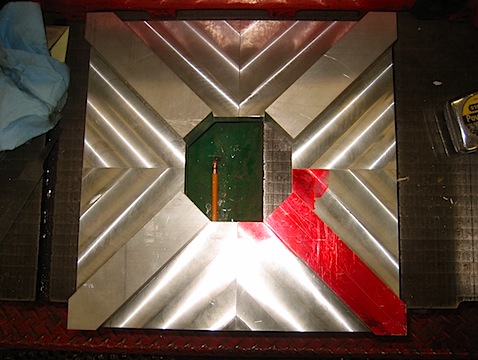
The grooves get cut and then the remaining triangles are removed with a saw. You can see the offcuts on the right side of this picture.
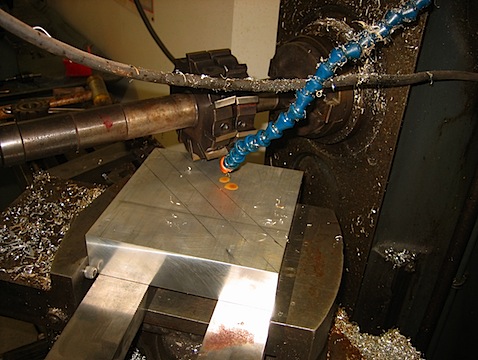
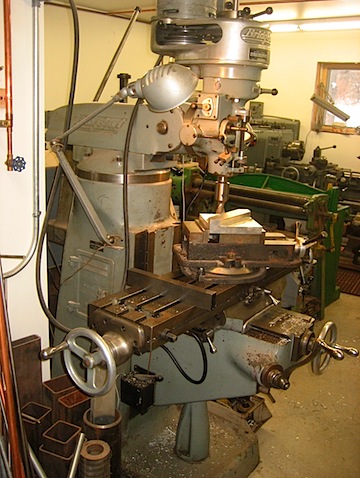
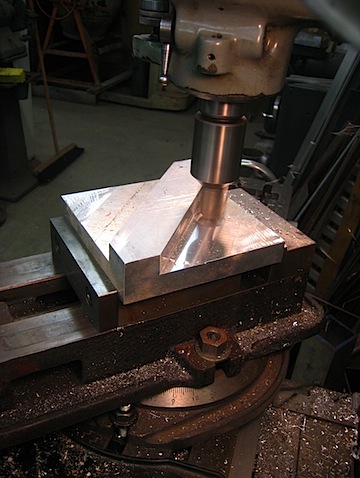
Next I am off to the vertical mill. This machine, made by bridgeport, is more accurate, but less powerful than the horizontal mill. Here I will refine the surfaces created by the mill and saw.
The cutting begins
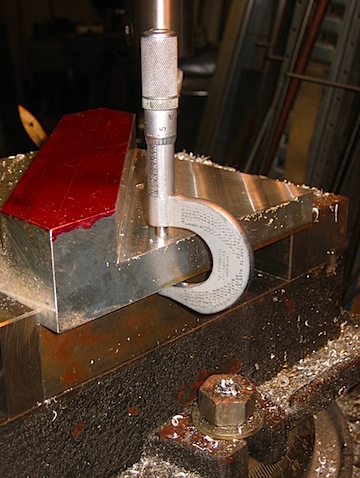
A smaller Micrometer is used to measure the thickness accurately.
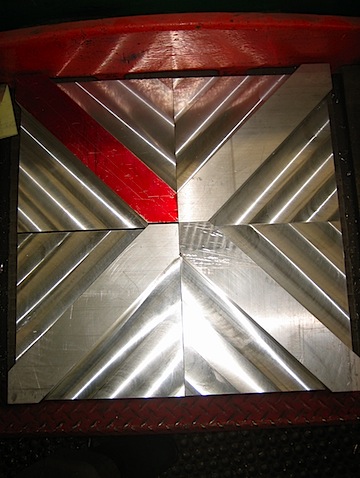
Things are looking good.
The bottom corners are roughed out on a saw, then put back on the horizontal mill for finishing. Check out how the chip gets peeled off as the cutter just breaks the edge of the metal.
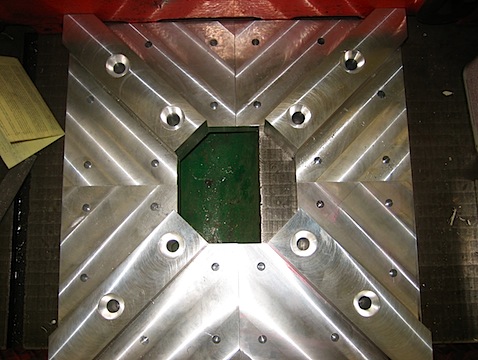
The brackets are getting close. Time for some drilling and tapping.
The through holes are drilled and countersunk.
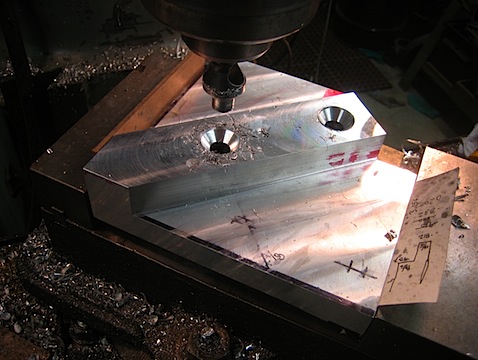
The rest of the holes are drilled and tapped.
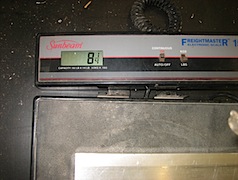
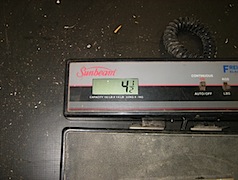
And finally the before and after on the scales. Almost 4 lbs of metal removed- about half the weight!
Next stop, building the rest of the table.