Sundari Fine Art- Saratoga Springs
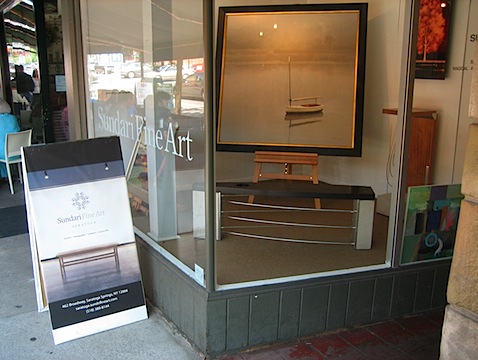
Every August my town of Saratoga Springs gets transformed into the horse racing capitol of the world. Aficionados convene here from around the globe to attend the horse races at Saratoga Raceway and enjoy the town of Saratoga Springs. The biggest race of the year is the Travers Stakes and the town really gets energized. I was asked by Sundari Fine Art to place some furniture in their window for Travers weekend and took them up on the invitation.
Sundari Fine Art is located next to Mrs London’s bakery, a world class bakery that we take advantage of as frequently as possible. If you haven’t had an Almond Croissant from Mrs London’s, you haven’t visited Saratoga Springs.
Sundari Fine Art is on the second floor, but they have a window on the ground level. I have two pieces in the window and another upstairs. You can see my Jupiter Bench clearly in the picture below.
Building the Torus Pedestal Table
I have been planning for some time to build a pedestal table to complement my Xenon Pedestal. The design I came up with references my Carbon hall table except that it uses an aluminum joint instead of the cast concrete joint that joins carbon’s legs to its top.
The design called for a 3″ square piece of aluminum which comes twelve feet long. It is quite substantial and about as much weight as I can comfortably carry on my own.
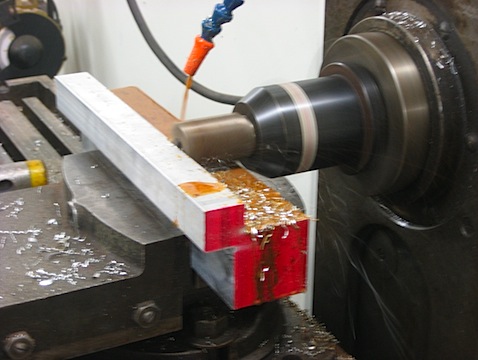
Here the profile of the joint to be is scribed in a red layout dye on the end of the aluminum chunk.

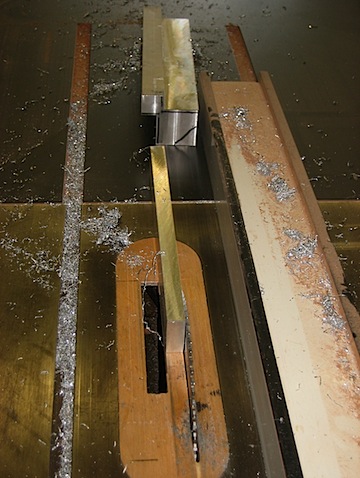
The aluminum is roughly sawn to size on the table saw utilizing a special blade specifically designed to cut non-ferrous metals. This quickly hogs out a lot of material and creates a useable cutoff.
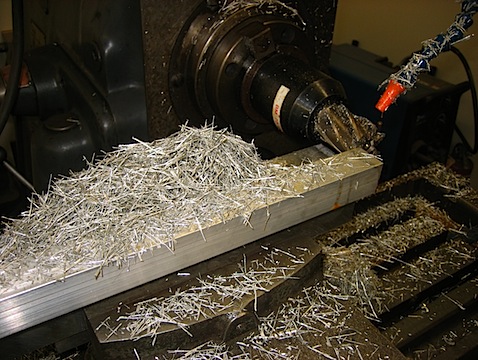
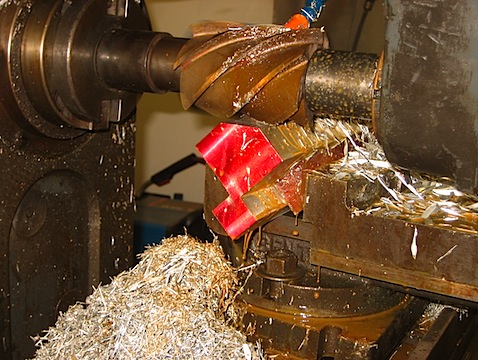
Next stop is the horizontal mill, where the aluminum is precisely milled to size. The flood coolant helps prevent the chips from getting so hot that they weld themselves back to the part.
This quickly generates a whole pile of chips!
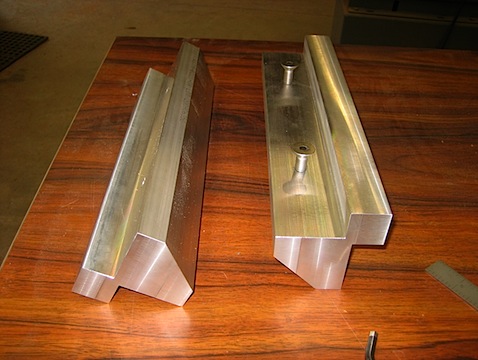
Next the mill is switched to a slab cutter utilizing the overarm. The 45º face is milled.
The fastening holes are drilled and tapped on the vertical mill and the results are: two finished parts
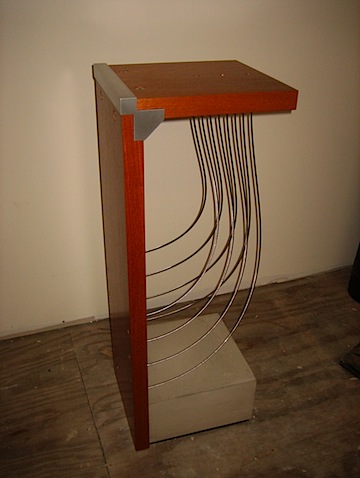
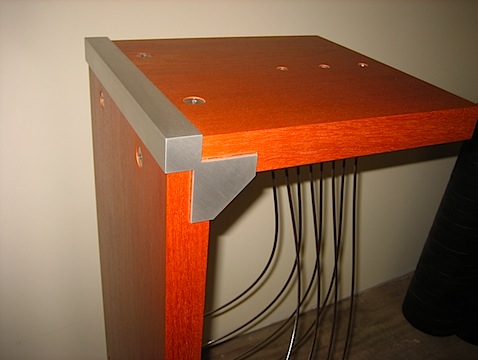
The Brackets are eventually sanded and integrated into the table. The Torus table features a concrete base and stainless steel cables.
The aluminum joint is a great addition to my repertoire, I will definitely be working this way again!
Custom Carbon Table
I had a commission from the Smithsonian Craft Show to create a custom length Carbon Hall Table. The size that worked best was five feet long. This required increasing the spacing of the cables and recalculating their lengths to achieve the same feeling as the original. I am happy with the way it came out and would definitely recommend it as a comfortable option for the table.
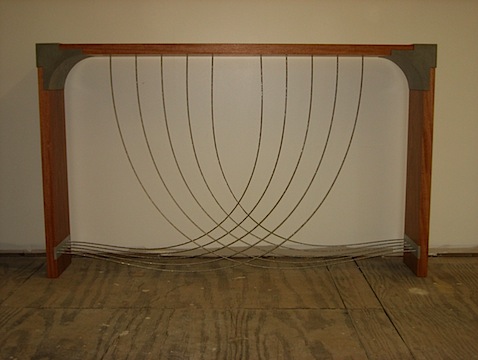
Radian- Concrete and Wood hall table
I have been combining concrete and wood in my furniture for many years now. One piece I created several years ago was my Mercury bench. It is a three foot long bench designed for that perfect little spot. Since day one of completing mercury, it has been envisioned taller as a table. My latest project has been building just that- a concrete and wood sofa table inspired by mercury.
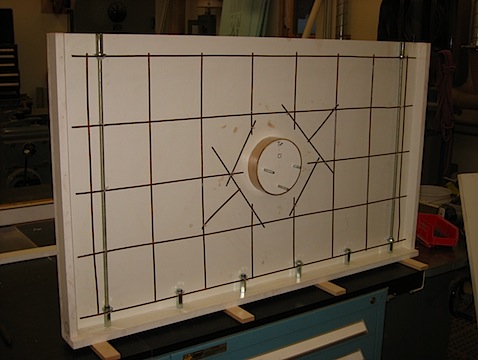
The heart of the piece is its concrete slab. It is mold poured concrete and in order to achieve a high quality surface on all exposed sides it must be poured vertically. The slab will be 1.5″ thick to achieve this, reinforcing mesh is added to the mold.
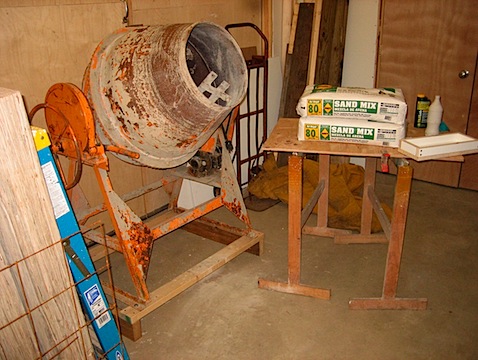
In order to achieve maximum strength on this casting, I use a based sand mix. Extra cement, fiber, and acrylic fortifier make this type of casting possible.
The mold is filled and plastic is draped over the top the slow the cure and increase strength. The ribs on the mold increase the strength and make for a flatter casting.
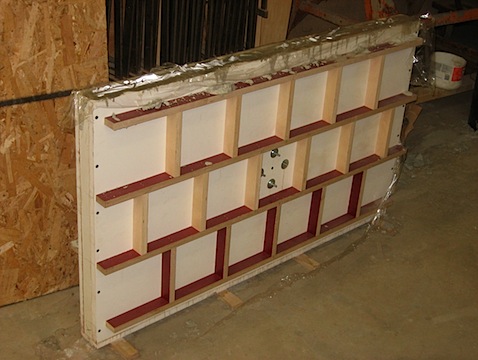
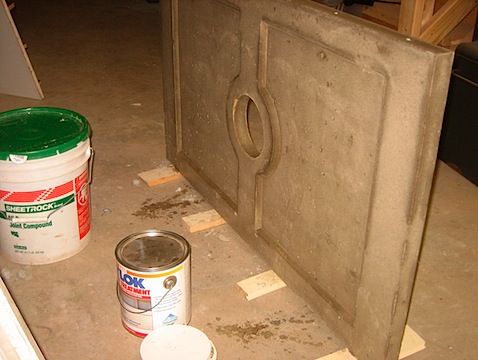
Once out of the mold you have a what is referred to as a green casting. You can truly see the moisture in the concrete. As it dries it becomes harder and lighter in color. This photo shows the back of the casting. I have relieved two sections to make the casting lighter. Amazingly these two thinner areas save 30 pounds of weight. I am particularly fond of the side effect- the visual interest created.
And finally back from the photographers. The concrete has dried to a beautiful light gray. The top is a black stained mahogany and the base brushed aluminum. The Radian table is complete!
